
New to Aipan? Begin small. A neat row of dots teaches spacing; a simple square teaches control; petals become easier once you have a steady hand. This guide builds from those basics to a small chowki and familiar threshold motifs.
The numbered diagrams are practice sketches, not templates for every ritual. Aipan designs and their use can differ between Kumaoni families and places. If you are making Aipan for a ceremony, follow the form taught in your household or by a local practitioner. For materials and paste preparation, start with our guide to making Aipan; for context on named motifs, read Aipan and its ritual significance.
Before You Begin
Gather a small bowl of rice paste, a little water, a soft cloth and a piece of practice paper. For traditional floor Aipan, the surface is commonly prepared with red geru and the white design is drawn with rice paste. On paper, use a washable white paint if rice paste is too runny. Do not use a household floor or wall until you have permission and know how the surface should be prepared.
Keep the paste smooth enough to flow from your fingertips, but not so watery that it runs. Use your fingers or the drawing method customary in your home. First make five dots and five straight lines; move on when you can keep them similar in size. The materials and technique guide has more detail.
Dots and Borders
These first four exercises are about spacing. The diagrams show the idea; make each one small on paper before drawing it on a larger surface.
1. Single dot-chain
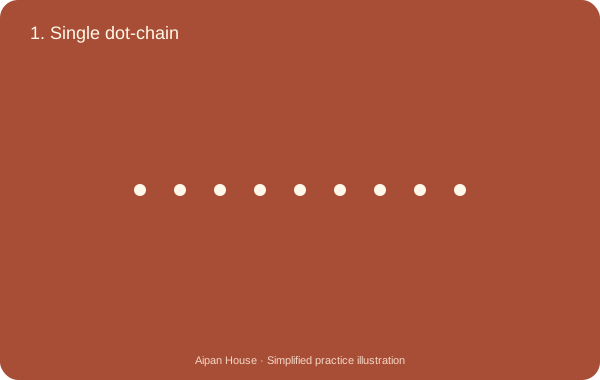
- Draw a faint guide line with pencil, or imagine a straight path.
- Place small dots along it, leaving about one dot-width between each.
- Keep the dots similar in size; wipe away a pencil guide after practice.
Practice tip: Make a row of ten dots before drawing a whole border. If the first few dots are large and the last ones tiny, reload your fingertip more often. Work slowly enough to lift straight upward after each dot; dragging sideways can turn a round mark into a small tail.
2. Double dot-chain
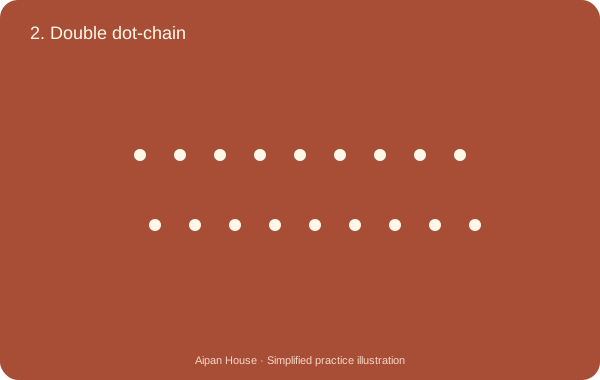
- Make two parallel rows of dots.
- Keep the rows the same length and the gap between them even.
- Try placing the dots in the second row opposite the gaps in the first.
Practice tip: Complete one row before starting the next. Keep the distance between the rows larger than the width of an individual dot, so the two lines remain distinct. Try this along the top of a practice card first; turning all four corners adds another challenge that can wait.
3. Corner dot clusters
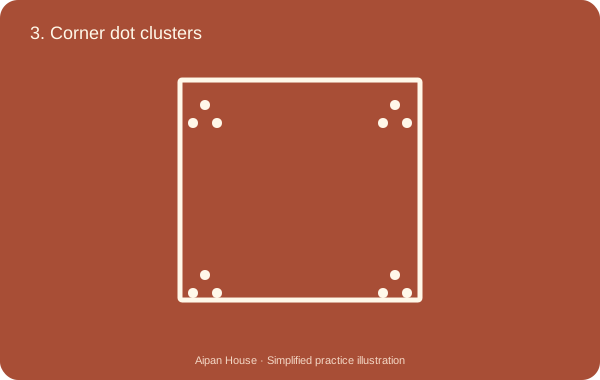
- Draw a small square frame.
- Put three or five dots just inside each corner.
- Leave the middle of each side open, or connect the corners with a plain line.
Practice tip: Choose three dots for every corner on your first attempt. Place them in a small triangle, with enough space between the cluster and the frame. Using the same number and arrangement in all four corners gives a balanced result without needing a complicated central motif.
4. Double-line frame
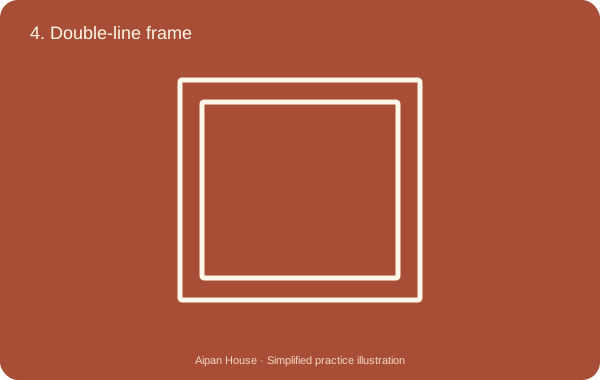
- Draw a small square with four slow strokes.
- Add a second square inside it, keeping the gap as even as you can.
- Add corner dots only after the frame looks balanced.
Practice tip: A square about the width of your palm is enough to begin. Lightly mark the four corners, then connect them one side at a time. Turn the paper when you need to; forcing your wrist into an awkward angle makes a straight line harder to control.
Lotus and Chowki
The next six ideas combine a centre, petals and a square frame. Start with light guide marks; they are there to help you find the centre, not to become part of the finished design.
5. Four-petal lotus
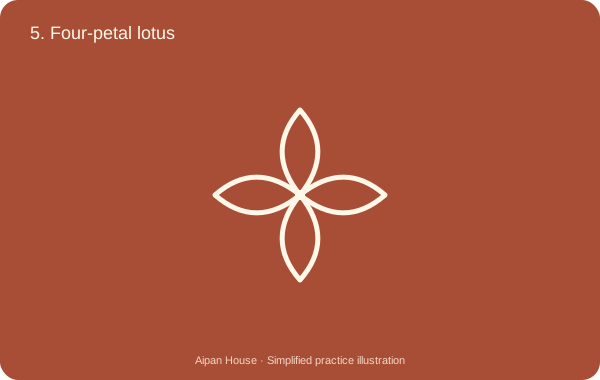
- Place a centre dot and imagine a cross through it.
- Draw one rounded petal toward the top, bottom, left and right.
- Bring each petal back to the centre and keep the four shapes similar.
Practice tip: Draw the top and bottom petals as a pair, then add the left and right ones. This makes differences in length easier to see. Leave a small open area at the centre rather than repeatedly painting over the same point, which can create a thick white lump.
6. Eight-petal lotus
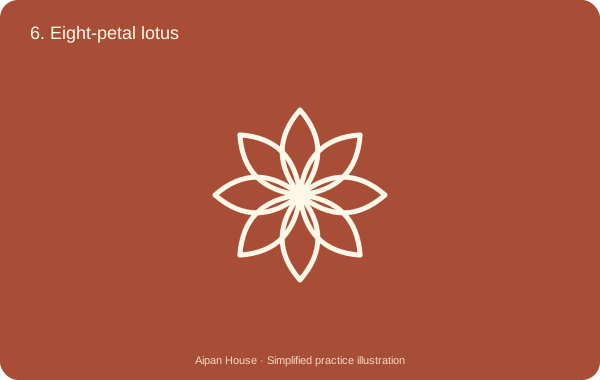
- Draw the four main petals from the previous exercise.
- Add four smaller petals in the diagonal gaps.
- Check that the space around the centre is even before adding detail.
Practice tip: The diagonal petals can be narrower than the first four, but their tips should sit at a similar distance from the centre. If everything feels crowded, start again with a larger circle of guide points. Squeezing extra petals into a tiny space usually makes the outline harder to read.
7. Lotus with a dot ring
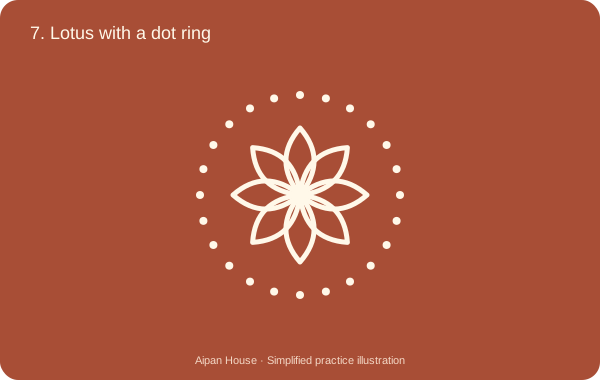
- Draw a small eight-petal lotus.
- Place a ring of evenly spaced dots around it.
- Leave a clear gap so the dots do not touch the petals.
Practice tip: Mark four dots first, above, below and on either side of the lotus. Fill the gaps between those anchor points gradually. This helps you avoid reaching the end of the circle with a large empty patch. Do not add the ring until the petals have stopped spreading.
8. Plain square chowki
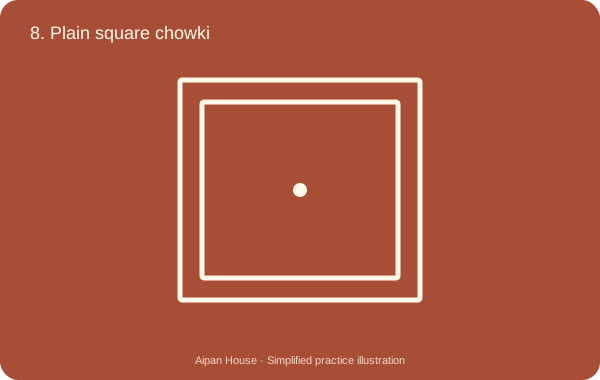
- Draw one square, then a smaller square inside it.
- Put a dot in the centre of the inner square.
- Add a dot row outside the frame if you want to practice a border.
Practice tip: Think of this as an exercise in building a frame, rather than a complete ceremonial chowki. Keep the centre small and leave a broad empty area around it. That space will help when you later introduce a lotus, other motifs or the details of a composition you have been taught.
9. Lotus in a square
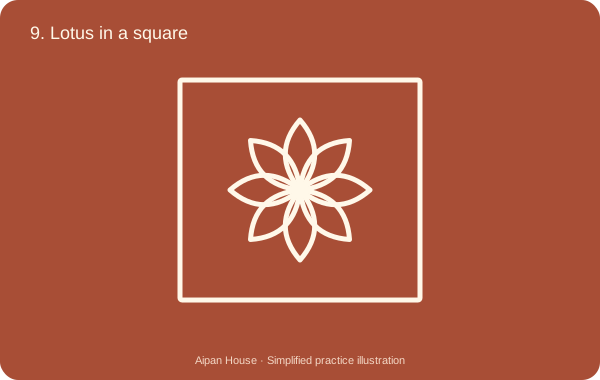
- Draw a square frame and mark its centre lightly.
- Make a four-petal lotus around the centre, then add diagonal petals if there is room.
- Leave space between the lotus and the frame. See the Saraswati Chowki and lotus guide for a fuller named composition.
Practice tip: Before drawing petals, place four tiny guide points halfway between the centre and the sides of the square. They show how far the lotus can extend. If a petal touches the frame, reduce the lotus on your next attempt rather than making the border increasingly heavy to hide the join.
10. Four-corner flower frame
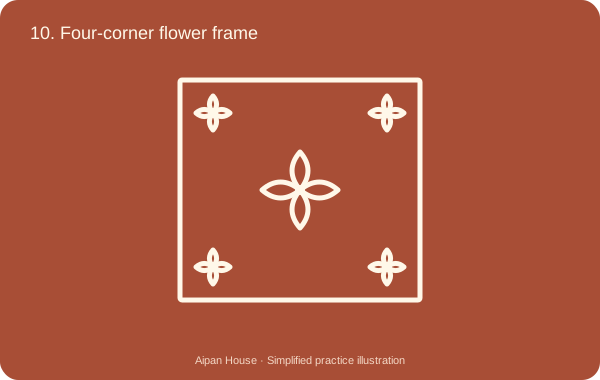
- Draw a small square with a dot or simple lotus in the centre.
- Add a tiny four-petal flower inside each corner.
- Keep the corner flowers smaller than the centre so the design stays easy to read.
Practice tip: Add the central motif first and the corner flowers last. Keep all four flowers the same size and leave clear gaps around them. On a small square, a centre dot may look clearer than a second large flower. More detail is useful only while the separate shapes remain visible.
Symbols and Thresholds
These last five exercises use familiar motifs. The simple versions here are for hand practice; they do not replace the customary shape, direction or placement used for a household ritual.
11. Simple Swastika
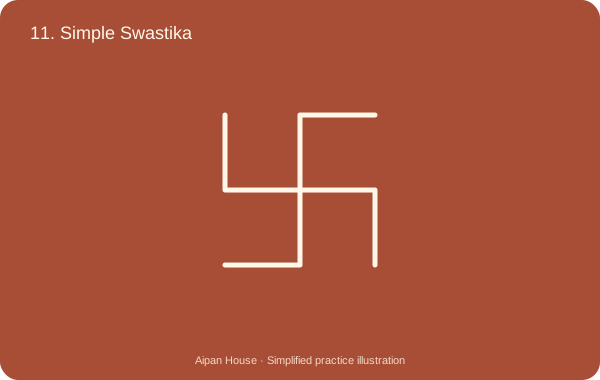
- Draw a short upright line and a crossing horizontal line.
- Extend each end into a short right-angle arm, turning all four the same way.
- Practice on paper until the arms are even. For ceremonial use, follow your family’s form.
Practice tip: Check all four bends before adding dots or a surrounding border. Follow one arm outward from the centre, then check the next in the same order. The diagram is a simplified drawing exercise; if you are learning for a puja, compare the form with a trusted household example.
12. Swastika in a square
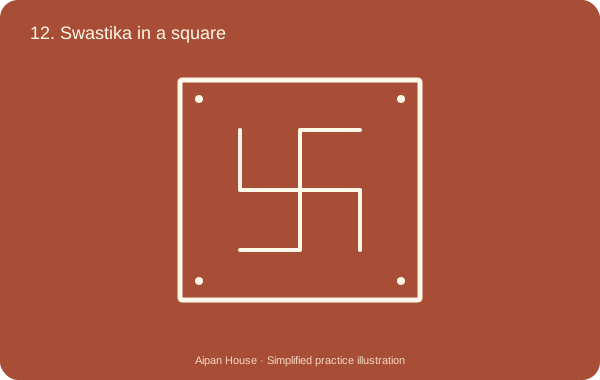
- Draw a small square and mark the centre.
- Draw a compact Swastika, leaving space between it and the frame.
- Add one dot near each corner only if the frame still feels uncluttered.
Practice tip: Leave roughly the same empty space above, below and beside the central symbol. If the frame feels too tight, enlarge it on paper instead of shortening only one arm. Four corner dots should sit outside the symbol itself, with enough room for each mark to remain separate.
13. Paired Lakshmi Pad practice
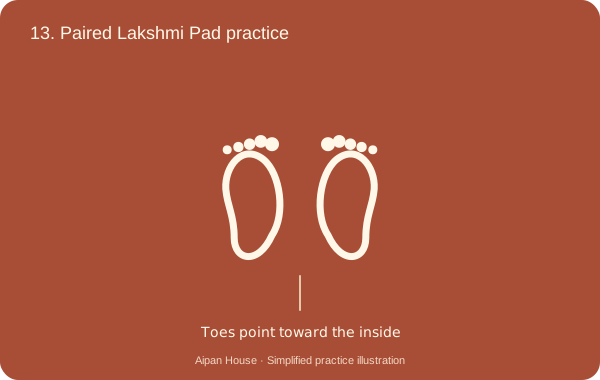
- Mark two heel positions on either side of an imaginary centre line.
- Draw two simple feet facing inward, with a rounded heel and small toe marks.
- Check that both are similar in size. The Lakshmi Pad guide explains the motif and its customary placement.
Practice tip: On your practice sheet, mark which edge represents the inside of the home before drawing. Sketch the two foot outlines lightly and add the toe marks afterward. Check the pair together, especially their direction and size, rather than finishing one very detailed foot before beginning the other.
14. Lakshmi Pad with a lotus border
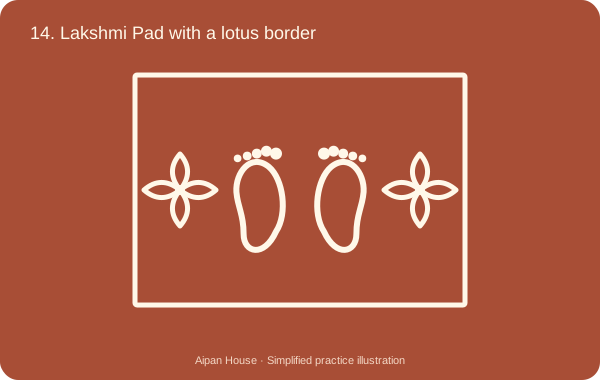
- Draw the paired footprints first, leaving a clear path between them.
- Add small petals outside the path, not over the footprints.
- Finish with a sparse dot border. Treat this as a practice arrangement, not a prescribed ritual layout.
Practice tip: Place a few petals along the outer sides of the pair before filling the rest of the border. Keep the footprint shapes easy to recognise. This combines two exercises from the guide; it is a decorative practice variation, and should not be described as a separately named traditional chowki.
15. Simple threshold arrangement
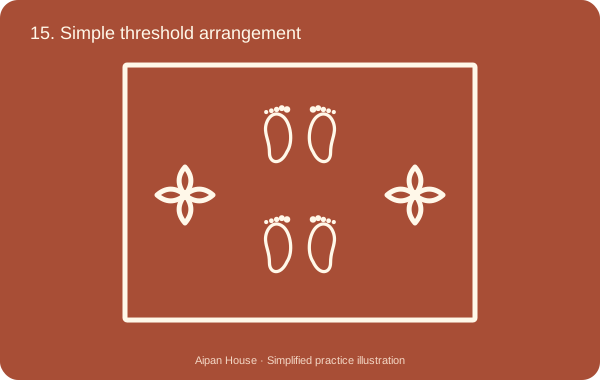
- Draw a short inward-facing path of footprints.
- Add one small flower or diya on either side, keeping the centre clear.
- Frame the design with a narrow line. For traditional doorway placement, see the Lakshmi Pad guide.
Practice tip: Plan the route of the footprints before adding side motifs. The flowers can stay very small; the inward path should remain the clearest part of the arrangement. Practice the complete layout on paper and adapt it to the space available only after checking the doorway form used in your household.
Common Beginner Problems
My dots spread into one another
Try a few marks on a spare piece of the same surface. Too much liquid on your fingertip or a wet background can let the dots spread. Use less paste for each mark, allow the base to dry and leave wider gaps. Change one thing at a time so you can see what helped.
My lines break halfway across
A rough surface, uneven paste or an almost empty fingertip can interrupt a line. Test a short stroke, reload, then try again. You do not have to draw every side of a large frame in one motion. Practise joining two short strokes cleanly before increasing the length.
My petals look uneven
Check the guide points before changing the outline. A flower often looks uneven because the centre has drifted toward one side. Draw opposite petals as pairs and keep the tips a similar distance from the centre. A little variation is natural in hand drawing; repeatedly thickening a petal can make the imbalance stronger.
I keep smudging finished details
Plan where your hand will rest before beginning a section. On a paper exercise, turn the sheet so you can reach an empty area without leaning over wet marks. Leave the smallest dots and finishing details until the main lines are in place, and allow the piece to dry before handling it.
What to Practice Next
Use one short practice session for each group. Begin with borders, return to the lotus exercises on another day, then combine a centre and frame. Keep an earlier attempt beside the new one and compare spacing, line thickness and how clearly the central motif stands out.
Try designs 1, 4 and 5 first: a dot-chain, a square frame and a four-petal lotus. When those feel steady, put the lotus inside the square. There is no need to make a large or elaborate pattern at the beginning; even spacing and calm, continuous strokes matter more.
For paste consistency and surface preparation, continue with How to Make Aipan. Then explore the Saraswati Chowki and Lakshmi Pad guides for more context on those named forms.
FAQ
What is the easiest Aipan design for a beginner?
A short dot-chain is a good first exercise. It helps you practice spacing and steady pressure before you try curved petals or a larger composition.
What do I need to practice Aipan?
Start with paper, a pencil for faint guides and a washable white medium. For traditional floor Aipan, households commonly use a red geru base and white rice paste; preparation can vary. See our materials and method guide.
Are these 15 designs all traditional Aipan patterns?
No. The list includes basic drawing exercises and simplified practice arrangements alongside familiar motifs such as the lotus, chowki, Swastika and Lakshmi Pad. Ritual forms and their use vary, so follow your family or a local practitioner for ceremonial Aipan.
Can I practice Aipan on paper?
Yes. Paper is a useful place to practice shapes before working on a prepared floor, wall or pata. Use a washable medium and follow the surface preparation customary in your household for ritual work.